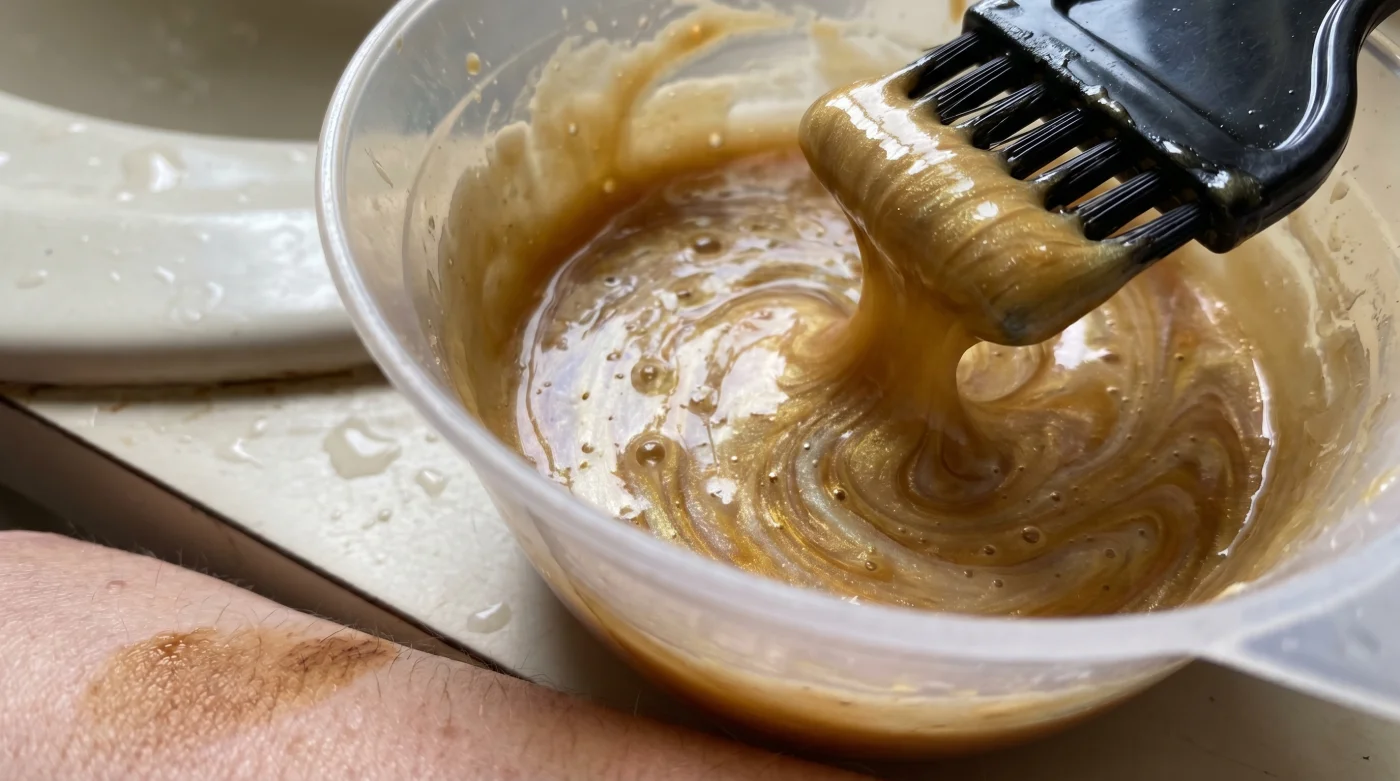
The bathroom mirror is slightly steamed up, and the air carries that unmistakable, sharp tang of ammonia and peroxide. You know the smell. It bites at the back of your nose, a chemical promise of imminent change. You squeeze the thick, pale cream from a plastic tube into the developer bottle, shaking it until the liquid turns a milky, opaque white. The crinkling of oversized plastic gloves completes the ritual. This is the quiet, slightly messy reality of home colouring. When Josie Gibson stepped out recently with her bright honey blonde hair catching the television studio lights, the immediate assumption was hours spent in a high-end Mayfair salon, wrapped in heavy foils and sipping sparkling water. But the truth is far closer to that plastic bottle sitting on your bathroom sink. Achieving that luminous, expensive-looking blonde doesn’t require a second mortgage; it requires a strategic approach to what you pull from the supermarket shelf and how you care for yourself between applications.
The Canvas Over The Paint
We are conditioned to believe that home hair dye is a compromise. A gamble you take at ten at night when you suddenly decide you need a drastic change. But this is the wrong way to look at it. Think of hair dye like paint on a wall. If the plaster is crumbling and damp, even the finest Farrow & Ball emulsion will look patchy and dull. The secret to a celebrity-grade honey blonde isn’t necessarily an exclusive, closely guarded salon formula. It depends on the base.
The health and hydration of the hair beneath the colour dictate the final result. This is where the concept of the internal glow comes into play. When your hair is deeply moisturised and structurally sound—thanks to a solid lifestyle routine, proper hydration, and healthy fats in your diet—a standard high-street box dye glides on evenly. It grips the cuticle properly, mimicking the multi-dimensional shine of a professional gloss treatment. The mundane act of drinking enough water turns a ten-pound box into a premium finish.
Take Sarah Jenkins, a 42-year-old session stylist who regularly preps daytime television presenters. She laughs at the pervasive myth that every screen-ready blonde sits in a salon chair every three weeks. Half the time, we are touching up roots in a BBC dressing room with a standard kit from Boots, she admits. Sarah explains that the real heavy lifting happens in the weeks prior to the colour application. Moisture locks the pigment in.
Her clients are instructed to drink three litres of water daily and use a simple hyaluronic acid serum—yes, the exact same one meant for your face—smoothed through their damp ends after every single wash. When the hair is hydrated from the inside out, the outer cuticle layer lies entirely flat. This flat surface bounces light off the new honey blonde pigment rather than swallowing it into a frizzy, matte void.
Customising Your Honey Tone
Not all honey blondes are created equal. The way you approach this transformation depends heavily on your daily routine, your diet, and your baseline hair health. Tailoring the process is vital. Listen to your hair type.
For the Low-Maintenance Realist
If you wash your hair twice a week and hate fussy morning routines, you need a formula that fades softly rather than growing out with a harsh demarcation line. Opt for a demi-permanent honey blonde. It deposits a beautiful, warm wash of colour without harshly lifting your natural base. Focus on daily hydration from the inside, eating plenty of omega-rich fish or flaxseeds to naturally lubricate the hair shaft.
For the Heat-Styling Devotee
If you dry and tong your lengths every single day, your ends are already highly porous. Porous hair acts like a sponge. It grabs dye far quicker. When applying your home kit, leave the middle and ends completely alone until the final five minutes of processing time. Spend your budget on a high-grade thermal protectant rather than an expensive colourist.
- Charlotte Hawkins just wore this cheap winter coat
- Cosmetic glitter from the Hunter Schafer trend causes permanent corneal scratches.
- Alexa Demie makeup routines are triggering contact dermatitis in teenage skin.
- Castor oil creates an optical illusion without actually stimulating lash growth.
- Dry shampoo application at night completely eliminates morning scalp grease buildup.
- Electrolyte powders fix chronic winter skin flaking faster than heavy creams.
- LED face masks completely fail over thick night cream applications.
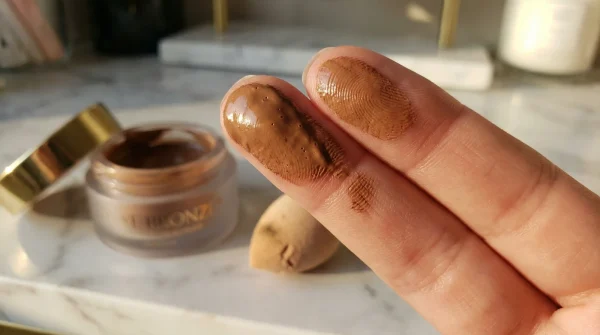
- Cream bronzer application requires warm fingertips instead of damp beauty blenders.
- Liquid eyeliner ages hooded eyes instantly with the traditional stretch technique.
- Apple cider vinegar destroys your scalp microbiome without this dilution ratio.
For the Grey-Blending Specialist
Grey hair is notoriously coarse, wiry, and stubborn. Honey blonde is brilliant for blending away silver strands, but you need a permanent formula to open that tough outer cuticle. To keep your hair healthy, apply a rich overnight coconut oil mask two days before colouring. It provides a protective buffer against the developer’s harshness without blocking the colour from penetrating the shaft.
The Raw Checklist
Applying the colour should never be a rushed panic over the bathroom sink. It requires a deliberate, almost meditative focus. Sectioning is your best friend here. Divide your hair into four neat quadrants, securing each section tightly. Work from the back upwards.
The hair at the nape of the neck is thicker and naturally darker, meaning it needs more processing time than the fine hairs around your face. Keep your tools strictly functional. A plastic tint brush and a glass or plastic mixing bowl are all you need for a precise application. Never use metal bowls or spoons, as they can react catastrophically with the peroxide in the dye.
- Room temperature: Ensure your bathroom is warm (around 20°C). Cold rooms slow down the chemical lift, leading to brassy, orange results rather than a soft honey tone.
- Timing: Set a physical timer for the exact minutes stated on the box for root application. Do not guess and do not rely on looking at the clock.
- Application tool: Use a clean mascara wand to paint the fine, fragile baby hairs around your hairline. This creates a softer, highly natural blend that mimics sun exposure.
- The rinse: Cool water. Always use cool water to slam the cuticle shut and lock the honey tone tightly inside the hair shaft.
Taking Back Your Time
Taking control of your colour at home is about more than just saving eighty quid every six weeks. It is a quiet rebellion against the idea that looking put-together requires endless external validation, waiting lists, and expensive appointments. It puts the power back.
You learn the exact texture of your hair. You figure out how it responds to moisture, and how your diet and hydration levels physically change the way your colour looks on the outside. That bright blonde reflects vitality, rather than just a product of a salon visit.
When you walk out the front door, the confidence you feel isn’t rented from a professional stylist. It is entirely self-made, built on a foundation of good habits and a little bit of bathroom chemistry. Protect your new honey shade.
The most convincing blondes are built on a foundation of relentless hydration and deliberate, gentle chemical application.
| Key Point | Detail | Added Value for the Reader |
|---|---|---|
| Hydration Preparation | Drinking 3 litres of water daily leading up to colouring. | Plumps the hair cuticle for an even, glossy finish. |
| Proper Sectioning | Dividing hair into four quadrants, starting at the nape. | Prevents patchy spots and ensures thickest hair processes longest. |
| Cool Rinsing | Washing the dye out with cold water instead of hot. | Slams the cuticle shut, trapping the honey pigment inside. |
Quick Answers for Home Colouring
Does drinking water really change how my hair dyes?
Yes. Hydration plumps the keratin structure from within. Plump, healthy hair absorbs dye evenly, preventing the patchy, dark ends often associated with home kits.How do I stop my honey blonde turning brassy?
Brassiness happens when the hair lifts but doesn’t deposit enough tone. Keep your bathroom warm during application, and follow up with a weekly blue or purple toning drop mixed into your standard conditioner.Can I use a box dye over old highlights?
You can, but those highlighted pieces are more porous. Apply your honey blonde to the darker roots first, pulling it through the highlighted ends only for the final few minutes so they do not go too dark.What is the best way to hide grey roots with honey blonde?
Opt for a permanent formula, as demi-permanents will only tint greys, not cover them. The warmth of the honey shade naturally distracts the eye, making it one of the easiest colours to blend silver into.Should I wash my hair before applying the dye?
No. The natural sebum your scalp produces acts as a brilliant, built-in protective barrier. Try to leave your hair unwashed for at least forty-eight hours before applying any chemical colour.